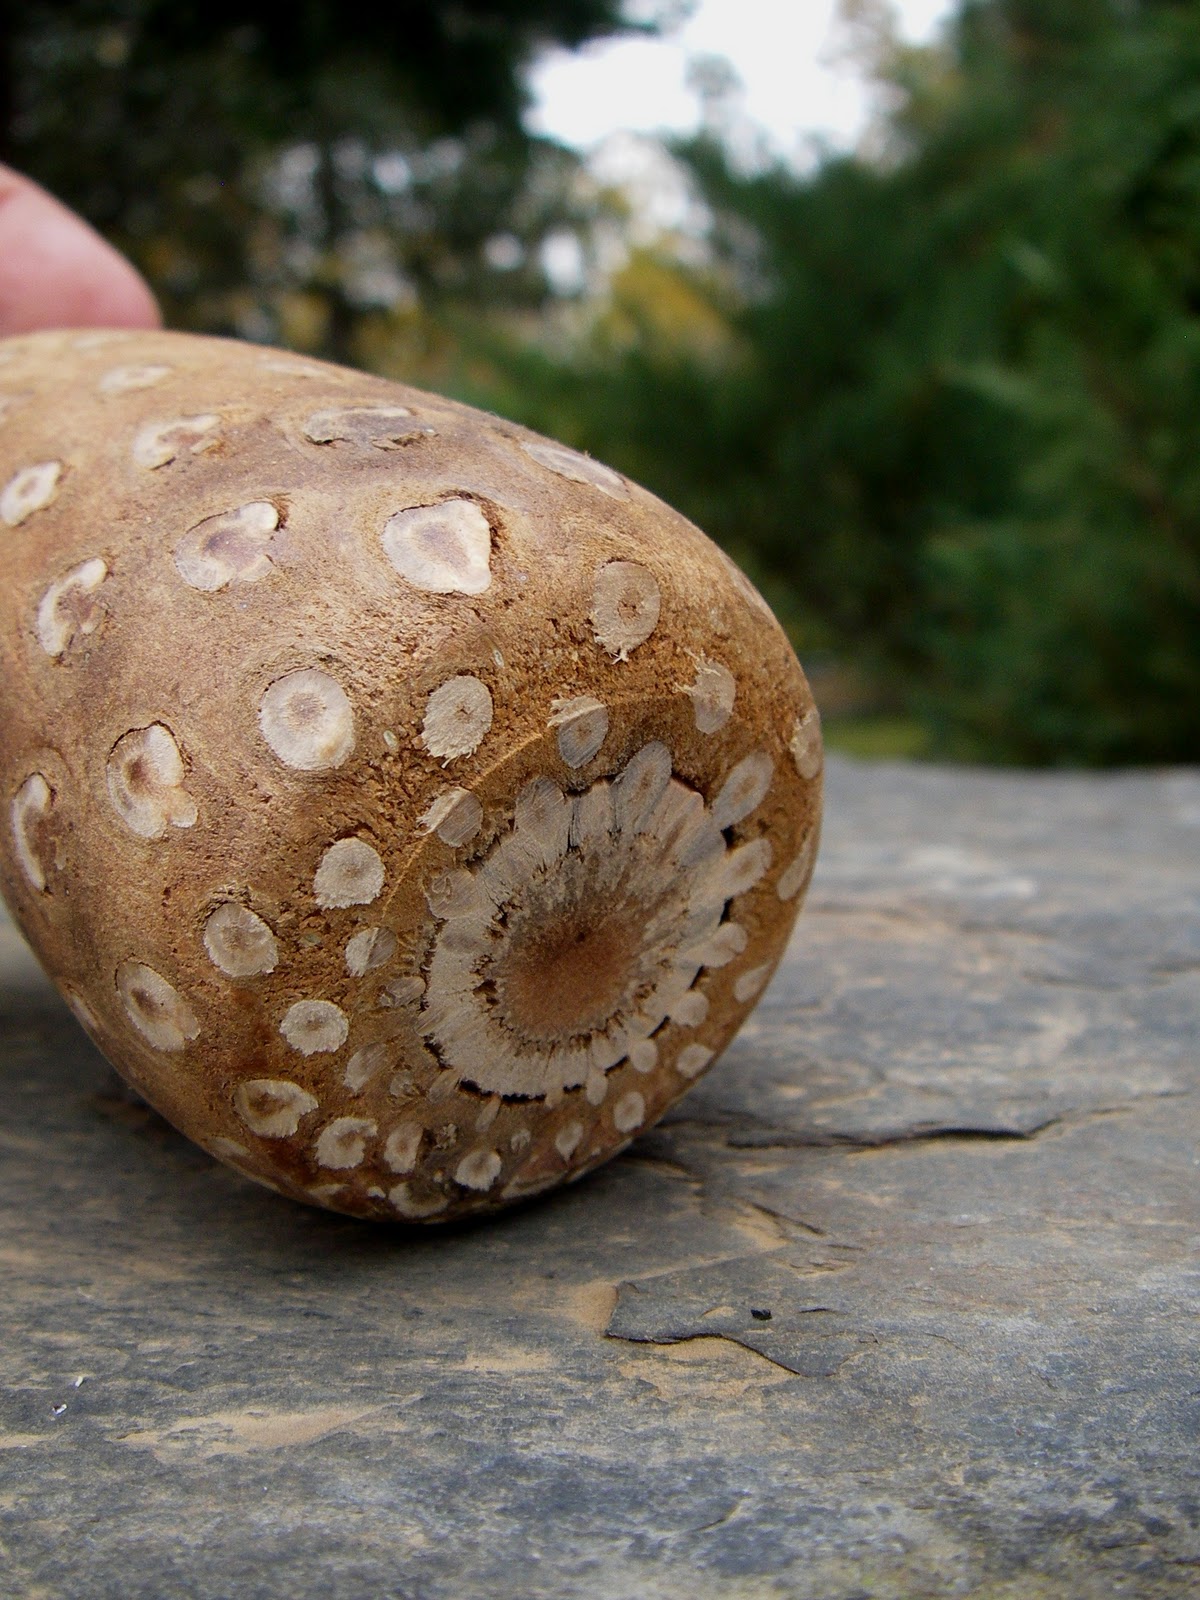
Turning Green Manzanita

Earlier this week I received some nice pieces of manzanita. Each piece was approximately 8" in diameter and 20" in length. I have turned three items so far. Three wonderful little bowls/goblets. Each bowl was turned green into a variety of thicknesses. Each bowl was then sanded to various grades (smoothness) as well. These were test pieces or prototypes for a study on curing green manzanita in the microwave!! This was a fun little project that will likely carry on into my turning experiences. I have also placed a great source of information on
green turning and microwaving from another source that could prove to be useful to fellow wood turners! I have also edited his information to fit my purposes
Microwaving Green Manzanita
A study of 3 bowls and the modified results so far~
1. Turn the green manzanita to a thin even thickness
2. Sand to as fine as possible. I sanded to 150 grit, 400grit, and 400 grit with a buffing. I believe 320-400grit would be adequate since manzanita is so dense and the wood porosity actually tightens during the curing.
3. Microwave on a medium temperature for 1 min and leave in the microwave for 5min so the moisture in the microwave keeps the exterior surface moist without drying to quickly and causing cracks ( I originally used 20sec on high and had cracking). Continue this process 2 more times, perhaps turning the bowl over as well.
4. I increased the power to full and for 30 second bursts. I also continued to leave the wood in the microwave after each. I did have some checking but they actually came back together and appears that no cracks had occurred, go figure? Repeat process one more time and let bowl cool each time.
5. Go back to a medium temperature for 1-2 minutes to heat the interior of the wood again. let stand. Repeat one more time.
6. Alternate medium temperature and high temperature to dry out he wood to appropriate EMC (equilibrium moisture content). I honestly went by feel since I work with dry manzanita often. The wood also feels wet if there is still moisture in the wood.
Observations

Grain should have closed tightly into a very, very smooth finish, better than any sanding and polishing. Any possible checking will occur early. My checking occurred radiating from the pith and the contact between heartwood and sapwood. Checking close to the pith often closed back up, not sure why yet.I think this has to do with the moisture on the surface drying to quickly. Hence the reason for elongated zapping on low temps. Checking along the contact occurred on each piece. On one of the bowls the checking closed again. Others it continued outward and checking through the bark. The one bowl with 3/8" thick walls checked the worst (I also began with full power on 40 sec!). This is a major transition zone and holds a majority of the water. Not sure how to approach this yet. Suggestions would be great. Lastly, shrinkage and warping did not occur. In the past, oak dried in the microwave created large changes. I feel manzanita is a very stable wood, but subject to checking very easily.

One last comment, I cut two blanks at the same time on the last study form. In the time I turned the study piece and microwaved the product, the extra blank had already checked and was unturnable as a study piece. The wood cracked very quickly. There are numerous articles on curing manzanita branches, but I doubt many of them will work with a diameter of 6" or larger. Especially the 9-15" that we as wood turners like to use. I suggest cutting manzanita blanks 4 inches extra from the bowl placement. Then turning as soon as possible to avoid heavy checking.

Note from Marshall : The microwave is also good for getting rid of insects. I turn quite a bit of wormy red maple. A minute or two on defrost will kill powder post beetles or any other insects. (It's actually the rapid vibrations not the heat that kills the critters.)
Other Articles on Microwave Drying

 I love Iron Table Legs. Especially those unique intricate ones that have a rustic feel yet still modern looking. Well I found a great website that has table legs for a reasonable price. Not sure, but shipping iron cannot be cheap. But these might be a really good deal if you do not have a local iron smith.